WordPress has been around since 2003 but has grown exponentially over the years due to its ease of use, popularity, and functionality.
It is used for a variety of purposes, including blogging, website building, and e-commerce.
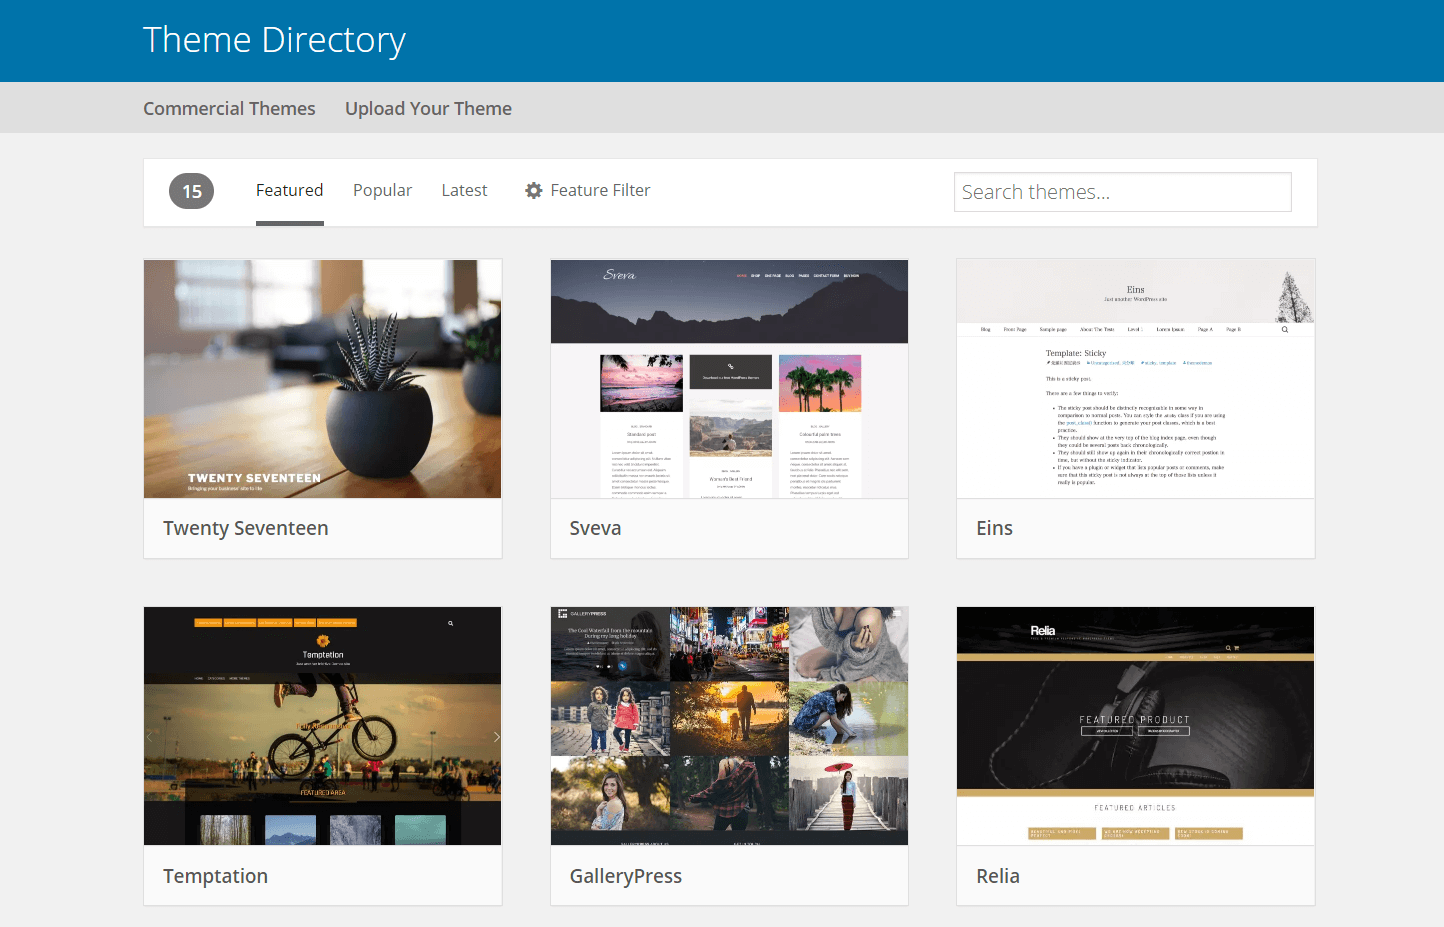
WordPress is the most popular blogging platform with over 50% of the market share. It is a great tool for content creators and bloggers to use. However, installing WordPress on your server can be a difficult task.
With Docker, you can easily install WordPress on your server and make sure that it's running smoothly without any hassle.
The Complete Guide to Installing WordPress with Docker will teach you how to install WordPress with Docker on your machine.
What is Docker, and Why should you Be Using it?
Docker is a container-based virtualization tool that makes it easy to package and deploy applications. It is an open platform for developers and IT professionals to build, ship, and run distributed applications.
Docker has been around for about a decade but has recently been gaining traction in the WordPress community as more people are using it to speed up their development process. As of now, there are over 100k plugins that have been built with Docker.
Docker provides an easy way to package your WordPress website along with all of your plugins so that you can deploy it quickly and easily on any server or cloud provider without having to worry about the underlying infrastructure.
Why should you be using Docker?
- Easier management of your WordPress site using Docker
- More efficient and faster deployment of your WordPress site
- Reduce costs by reducing the number of servers needed
The Complete Guide to Installing WordPress with Docker
Installing WordPress on your server is a long and tedious process. This is because you have to manually download WordPress and its dependencies, configure it and then install it.
With the help of Docker, we can automate this process and make sure that it is done in the fastest possible way.
WordPress is the most popular content management system across the internet. It is also an open-source platform that can be installed on any website using Docker. It allows anyone to easily create a blog or website without having to know how to code.
Docker is a program that manages containers which are small virtualized environments for running applications. Containers can share resources with each other, but they do not share their host system's file system or network namespace.
This guide will show you how to install WordPress with Docker on your server.
WordPress is a powerful content management system that lets you create and manage websites. It is the most popular CMS in the world, powering over 60% of all websites on the internet.
Step 1: Install Docker on your computer
The first step is to download and install Docker for your computer. This will take some time to install, but it's worth the effort.
You may find an error while installing Docker.
To fix this, get the WSL 2 Linux kernel and install it. The error will be addressed if you restart the Docker desktop.
Step 2: Create a docker image for WordPress
Create a docker image for WordPress with the latest version of WordPress installed. We need to install Docker on our computer before we can create our container image.
We'll be using Docker Hub images that are widely available.
These are some of them:

Step 3: Create a container
Now you create a container in which you can run the new image.
Docker is an application that allows you to run software on Linux containers. This helps in creating a secure and isolated environment for your WordPress installation.
Next, you need to create a Dockerfile.
This is a text file that defines the image of the application. To deploy WordPress with Docker, you'll need to create a file named docker-compose. The Dockerfile should be added to the directory where your application sources are. After you've added the repository, you need to upload the WordPress files. Afterward, you should select the language for the application.
A container is an isolated software environment that contains everything needed to run an application, including its code, runtime, system tools, configuration files, and data files. Containers are built on top of virtualization technologies like Linux Containers (LXC), Docker, or Hyper-V containers.
The container will be the base of your application. It will contain all the files that you need to run the application. You can use any image or template for this container, but it needs to be compatible with WordPress and Docker.
Step 4: Copy the container to your server
Lastly, copy the container to your server, start it up and connect it to your domain name or IP address.
The WordPress installation is ready to use. You can now add themes, plugins, and posts. For added security, you can also run basic security hardening steps. After installing WordPress, you need to create a backup routine that covers the MySQL database, wp-content directory, and wp-content directory.
Using Docker secrets will give you more security in environments. You can also use a secret file in your Compose file to protect your installation from attacks.
WordPress with Docker is an operating system that starts with a lightweight Linux kernel and includes the WordPress software package.
Lastly,
Docker is a containerization technology that allows you to run applications in containers. This means that you can take your WordPress website and install it on your server without having to worry about the infrastructure.
This guide helps you get started with installing and running WordPress in a containerized environment so that it can be easily managed and scaled across multiple servers. This process will also work for any other application that can be installed as a containerized application.
This guide shows you how to install WordPress on your server using Docker so that you can have a fully functional blog or website in no time.
If you have any questions or need help with this process, feel free to reach out to our support team.